 |
| Monmouth County Hounds waiting to move off. |
There are a lot of opinions out there about using photos. They run the gamut from the idea that copying a photo is cheating, to the realization they're a valuable tool in the artist's arsenal. I subscribe to the latter point of view. Someone once told me they thought painting from a photograph wasn't valid because it was just copying something that had already been done. I tried to argue the point that it was just another aid in the creative process, but I couldn't persuade my colleague to see my point. I finally suggested I would give him a photo, a tracing of it, some paints and brushes and all the time he needed to reproduce the image in oils and see what he came up with. That ended his argument. What he had failed to take into consideration was the amount of skill required to "just copy" a photograph.
When I was a young girl, I used to copy the drawings of Paul Brown, Sam Savitt and C. W. Anderson from the illustrated horse books so popular in the 60's. It was a great way to
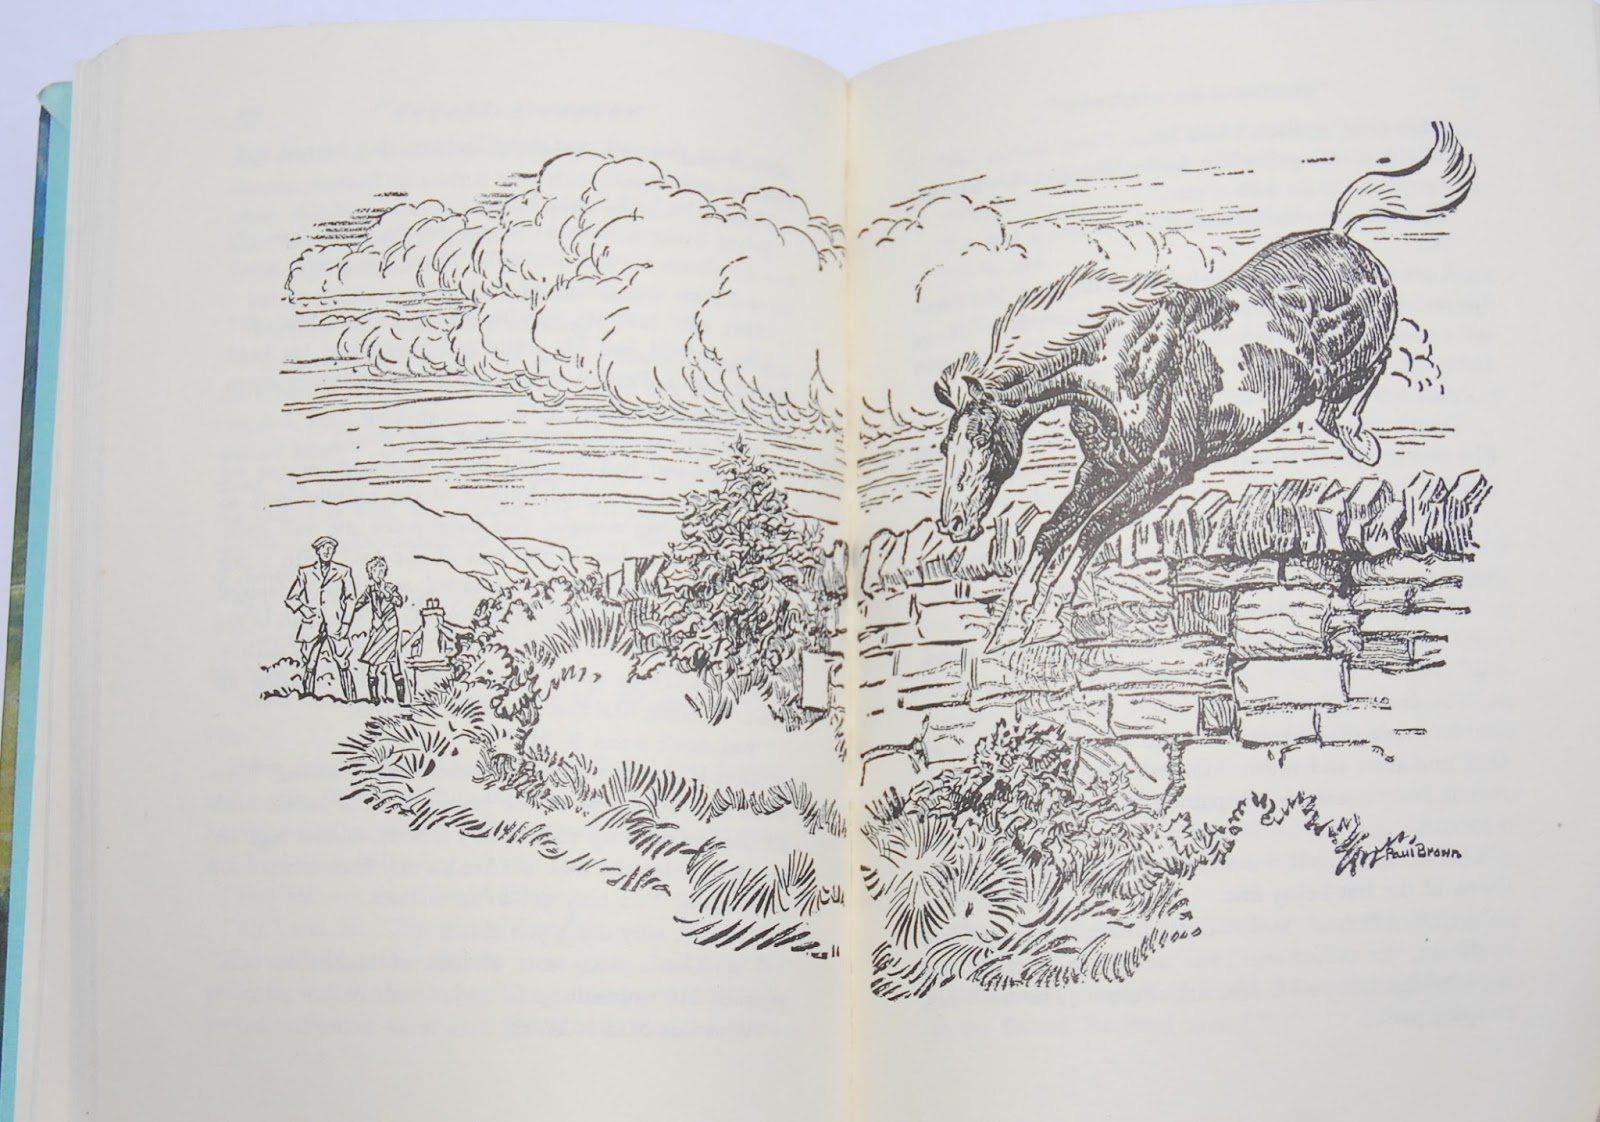 learn how to draw horses and riders. I had no idea I was more or less continuing the classical tradition of the Old Masters before me, whose apprenticeships usually began with copying classical works of art.
I began taking photographs when I started painting horses professionally. I photographed many different types of equestrian competition: racing, showing, eventing, hunting, etc. I bought a camera and taught myself the basics of taking decent photographs because for one thing, I wasn't allowed to use anyone else's photos. The copyright laws are very strict (as they should be) about using other artist's work without permission or compensation. Besides, I didn't want to use someone else's subject matter. Every photograph is a personal artistic statement, so unless you're using own photos, you're borrowing someone else's idea.
 I discovered that working from photographs has many pitfalls. For one thing, the human eye doesn't see a subject like a photographic image, frozen in time and space, but rather as a series of images that flow together creating the illusion of movement. I tried to watch that movie about Eadweard Muybridge recently, but it was so terribly boring, I only got halfway through it. I'd rather just study his books with all the photographs of various subjects in motion. His studies of the walk, trot, canter and gallop are simply fascinating. The most enlightening aspect of his work is how he captures the same sequence of motion from various angles. It clearly illustrates how different the subject looks from the front and back (or side) - at the same time.
 |
| A series of photographs showing the sequence of strides of a galloping horse, from the front and back. It's hard to believe the photos in the top row all correspond to the ones on the bottom. |
If you don't have a copy of his book, Animals in Motion and the companion volume The Human Figure In Motion, I suggest you go and get them straightaway. Dover puts out an inexpensive hardcover and softcover versions, and should be on every artist's bookshelf.
The first problem with working from photographs (to my mind) is the frozen image of a horse galloping or jumping (or whatever). It's always very much at odds with the image I've formed in my mind. The subject often appears awkward as limbs are bent at strange angles and the light and shadows obscure the form. I see so many artists slavishly copying every wrinkle and blemish I have to wonder why. I suppose they think the camera is accurate and "doesn't lie," but I think it also has to do with not knowing what to leave in, what to take out and most importantly, what to add. When I first started working from photos many years ago, I copied the photos exactly as they were, but as I became a more confident painter, I realized I didn't have to reproduce the photograph exactly. I could change things around, even add details from other photos or from my imagination.
I suggest that you do a lot of observing before taking any photographs. I realize you'll be impatient to get out there and start taking pictures right away that you can convert into paintings. There might be a few missed opportunities, but the time spent simply observing will pay off afterwards. Going to a few horse shows, races and hunt meets will give you a better idea of the type of activity that interests you the most. Take a sketch book and do some quick motion studies. Once you have an idea of what you want to paint, you'll be better prepared to take photographs that you can use. Try to think about what makes a canter look like a canter, what aspect of a horse jumping a fence really typifies that particular movement or what draws you to the subject in the first place. This careful analysis of the subject will help you to snap the photograph at the right moment. How do you think all those brilliant photographers like Barbara Livingston and Tod Marks get those photos? Luck? Chance? Yes and no. They have a sense of what's happening and they're at the right place at the right time to capture it.
When I'm working from photos, I often piece together numerous photos to improve areas that need improving. This is not always easy to do, since there isn't always the "right" reference material available. One can be tempted to just copy the photo, since it's so much easier. After all, it's right there. But even one change can drastically improve a painting, as I'm about to illustrate with the photograph below. Pop Quiz! Can you spot what's wrong with this photo?


 The first photo (left) shows the correct position of the horse's head and neck in relation to the rider. The line of the horse's neck originates somewhere in the middle of the rider's lap and the point of the knee. This was a perfect photo to use for reference. Even though the light and shadow is diffused, the pose is perfect. I couldn't have done better if I had the model standing in my studio!
In both photos, the dark lines of the bridle perfectly define the shape of the pony's head, giving me the essential information I needed to figure out the side- and underplanes of head. This helped me to determine what would be in light and what would be in shadow.

Next, I added some of his shoulder in front of the rider's leg because he's no longer turned so sharply to the right, and straightened his front legs a bit.
Finally, I took out the cast shadow of the chestnut pony on the grey's hindquarters. In my painting it didn't quite "read." It just looked like a big blue hole on the horse's flank. I realize this is an important detail because it creates the sense of light and atmosphere in the painting, but until I get it to look like a cast shadow, it's staying out. I will continue to work on it until it looks right, but if I can't make it work, it will just have to be sacrificed.
This may seem like a lot of extra work but the difference between the painting and the original photograph shows it was well worth the effort. There's no headless horse here, which makes it a much more pleasing image. Don't you agree?
 |
| The almost finished painting of a group of foxhunters chatting while they wait for the field to move on. |
The point I'm making is that working from photos is not intrinsically good or bad. Photographs are like brushes and oil paints; they're just another tool to help you achieve your goals. How you use them will determine whether or not they're beneficial. I like to think of it more as working with photographs rather than from them.
Excellent post, Christine! Working from photos is not as simple as the purists think it is!
ReplyDeleteIt's not as simple as most artists think either.
DeleteYour blog is very useful for me,Thanks for your sharing.
ReplyDeleteหนังฝรั่ง